
How to Print at Momentum
Connect to our printer and start printing from your personal device
Printer: Toshiba e-STUDIO 330AC
IP Address: 10.1.50.125
Before you begin, make sure you have your printer code (e.g. 1234) — this will be provided to you by the Momentum team. You'll need it to complete setup.
Download the Driver
1
Go to business.toshiba.com/support-drivers
2
Search
330 and select e-STUDIO 330AC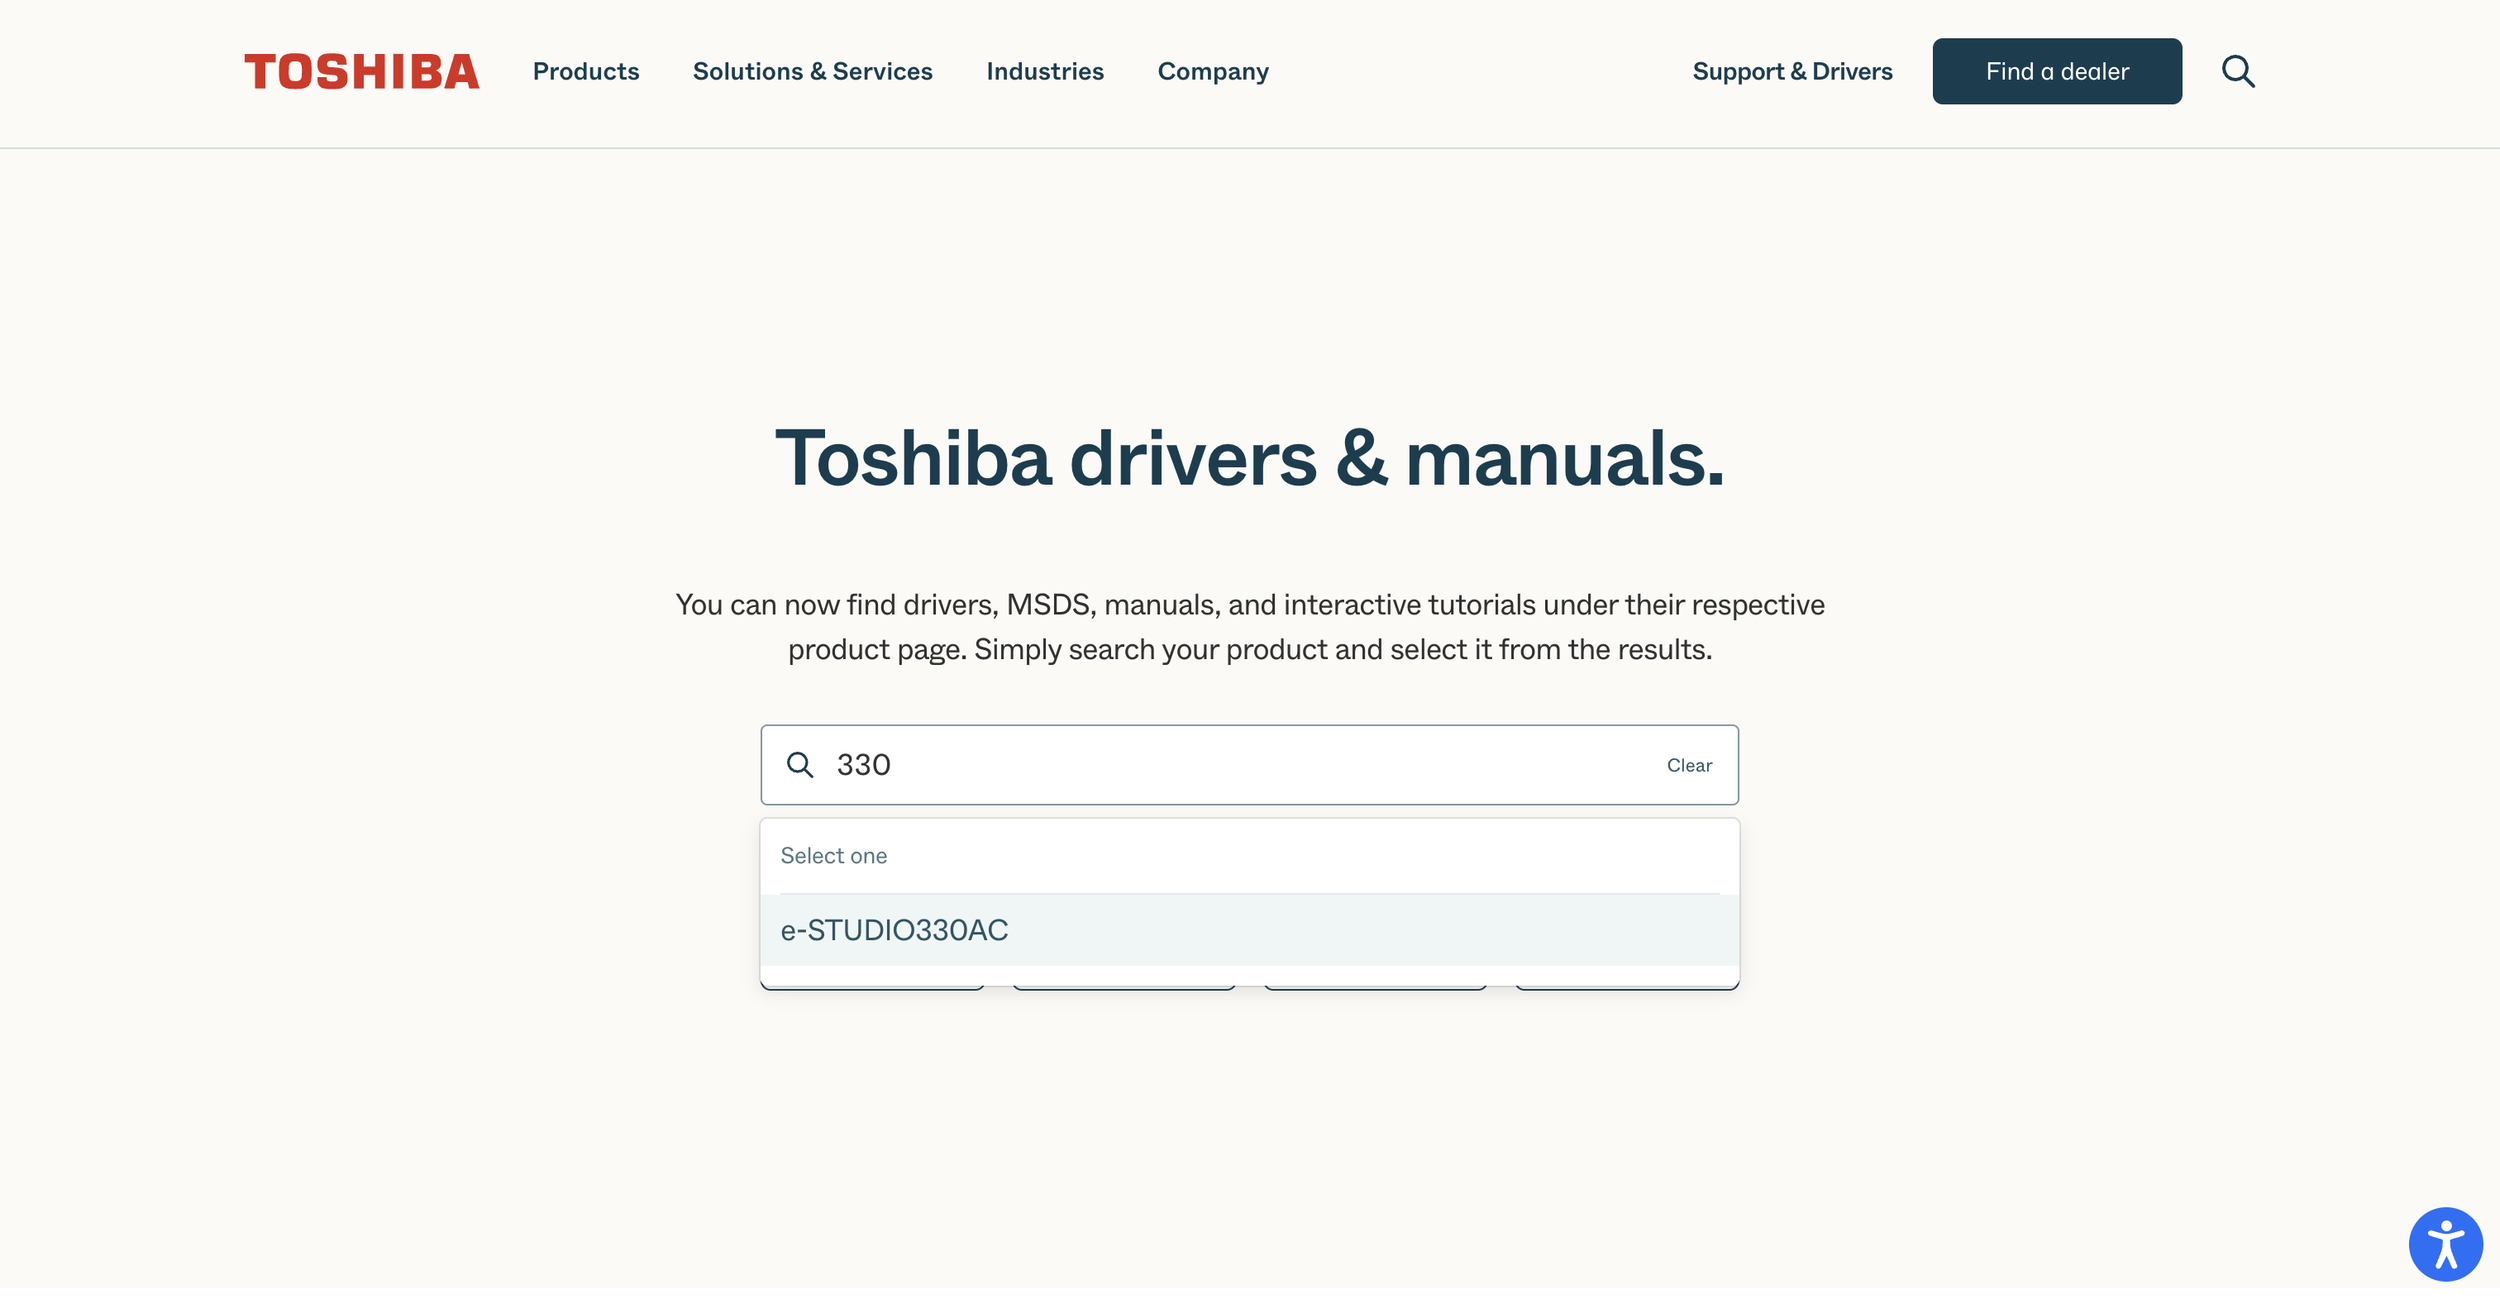
3
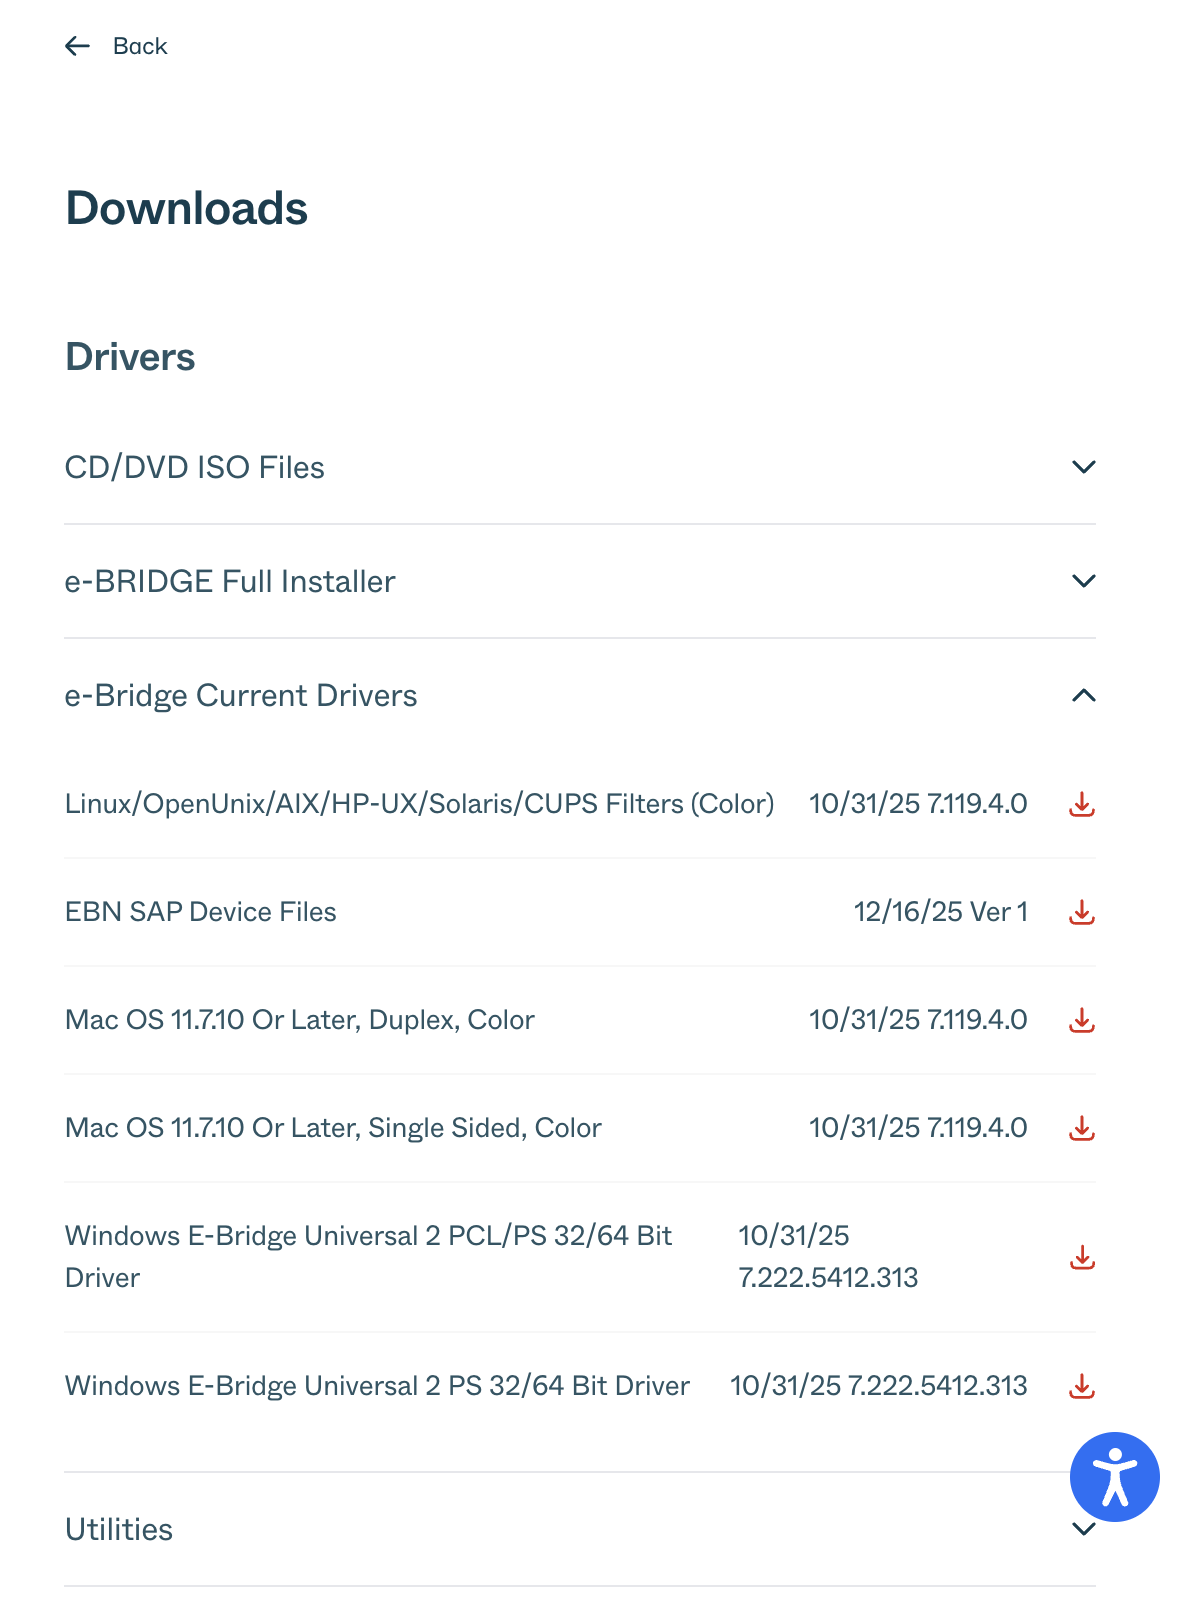
Expand "e-Bridge Current Drivers"
4
Download "Mac OS 11.7.10 Or Later, Duplex, Color"
For single-sided, download "Mac OS 11.7.10 Or Later, Single Sided, Color" instead.
Install the Driver
5
Open the downloaded file and double-click the .pkg file
6
Follow the installer prompts to complete installation
Add the Printer
7
Open System Settings → Printers & Scanners
8
Click "+" to add a printer
9
Click the Globe icon (IP tab)
10
Address:
10.1.50.12511
Protocol:
IPP12
Under "Use", make sure the TOSHIBA driver is selected
13
Click Add
14
If a setup screen appears, select your copier accessories and click OK
Enter Your Printer Code
You must enter your department code before printing. Without it, the printer will silently reject your job — nothing will print.
15
Open any document and press
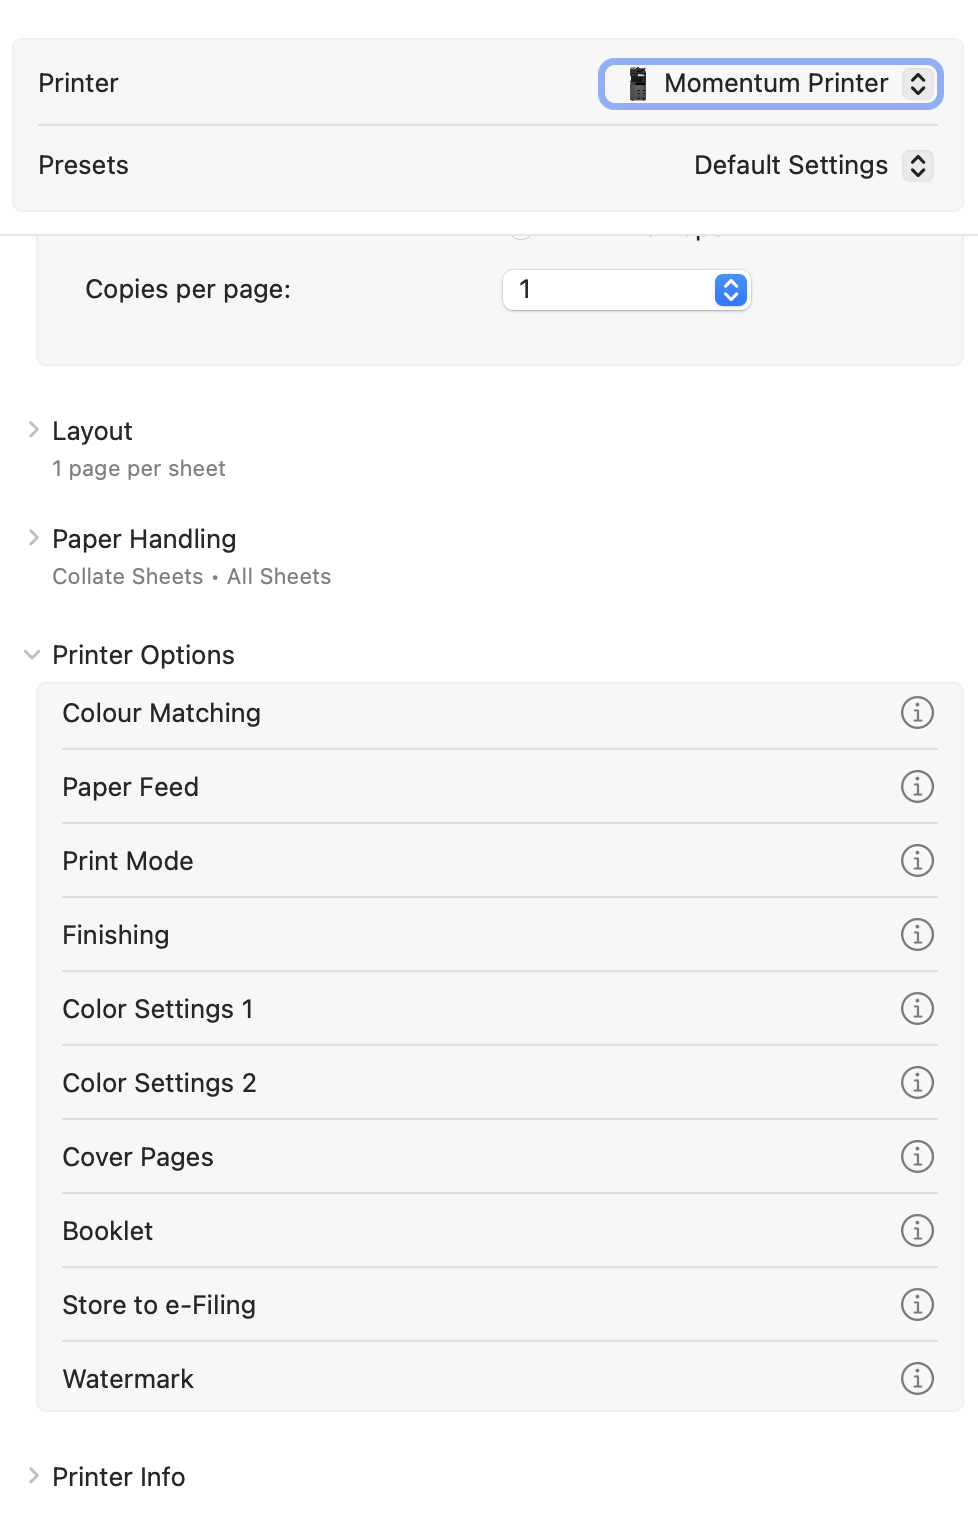
Cmd + P. Make sure Momentum Printer is selected.16
Scroll down to "Printer Options" and expand it. Click the (i) next to "Print Mode".
17
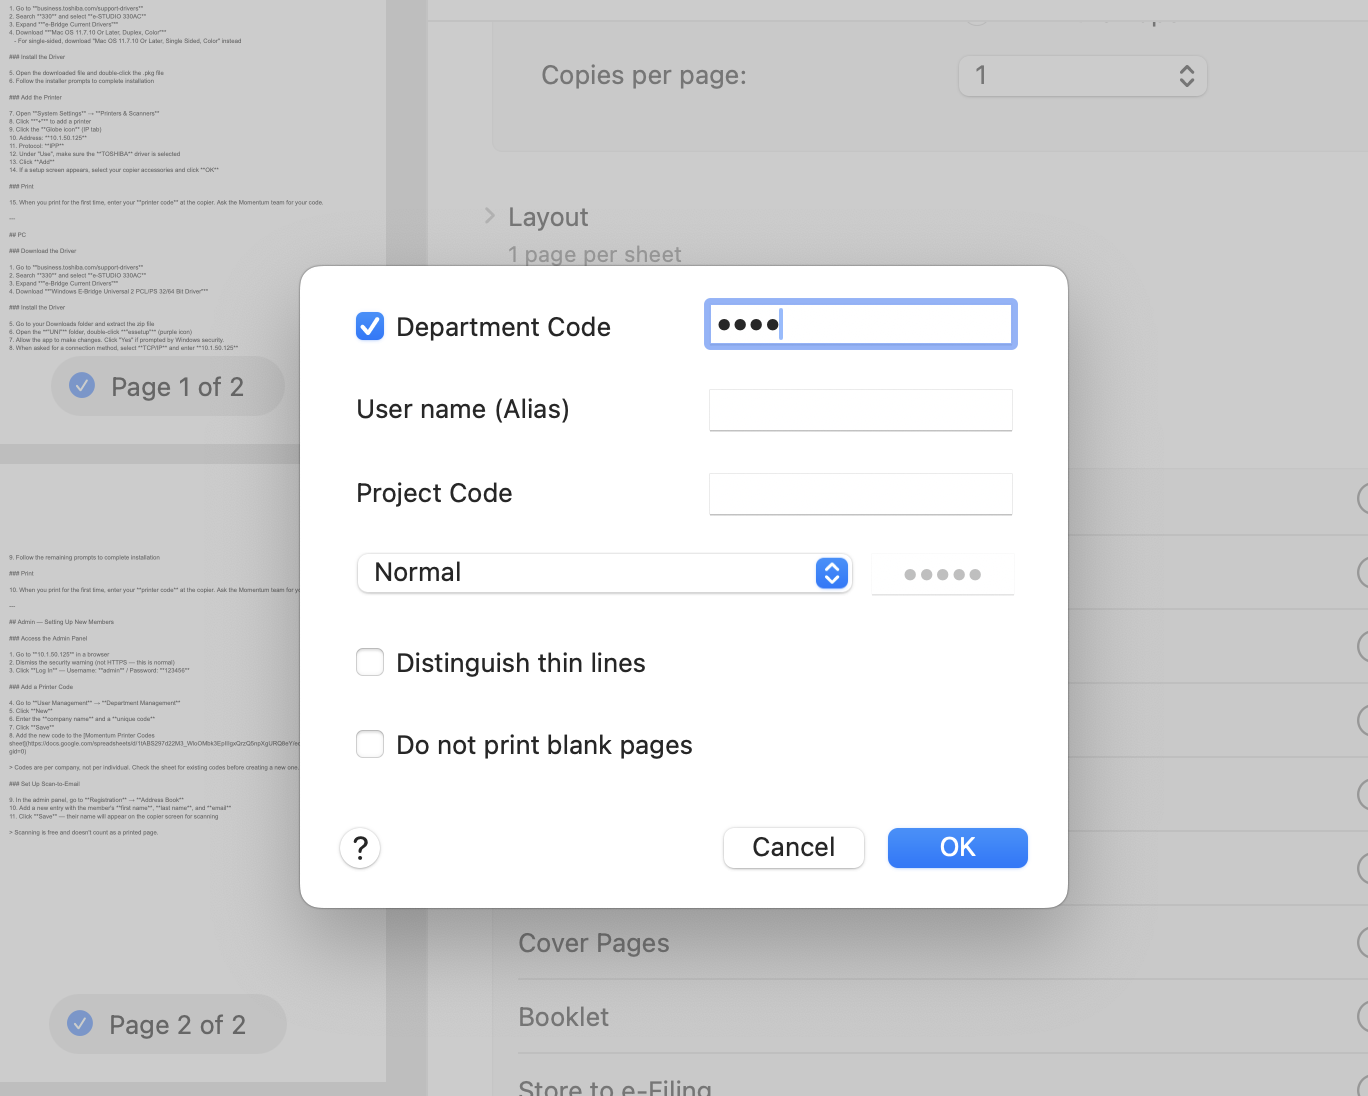
Check the "Department Code" box and enter your code. Ask the Momentum team if you don't have one.
18
Click OK, then click "Presets" at the top → "Save Current Settings as Preset" so you don't have to enter it again.
Download the Driver
1
Go to business.toshiba.com/support-drivers
2
Search
330 and select e-STUDIO 330AC3
Expand "e-Bridge Current Drivers" and download "Windows E-Bridge Universal 2 PCL/PS 32/64 Bit Driver"
Install the Driver
4
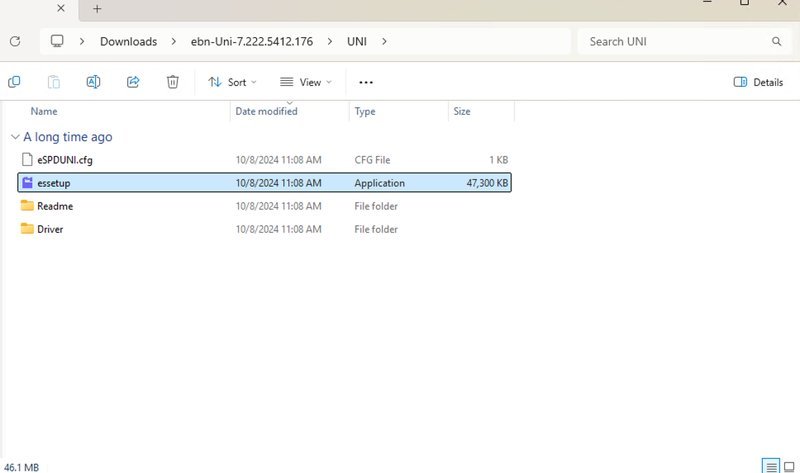
Go to your Downloads folder and extract the zip file
5
Open the "UNI" folder, double-click "essetup" (purple icon)
6
Allow the app to make changes. Click "Yes" if prompted by Windows security.
7
When asked for a connection method, select TCP/IP and enter
10.1.50.1258
Follow the remaining prompts to complete installation
Add the Printer Manually (if needed)
If the printer doesn't show up or your print jobs aren't going through after installing the driver, you'll need to add it manually using the IP address. This fixes it every time.
9
Open Settings → Bluetooth & devices → Printers & scanners
10
Click "Add device", then click "Add manually" (or "The printer that I want isn't listed")
11
Select "Add a printer using a TCP/IP address or hostname" and click Next
12
Device type: TCP/IP Device. Hostname or IP address:
10.1.50.125. Click Next.13
Windows will detect the printer. If asked to choose a driver, select the TOSHIBA e-STUDIO 330AC driver you already installed, then click Next and Finish.
Enter Your Printer Code
You must enter your department code before printing. Without it, the printer will silently reject your job — nothing will print.
14
Open Settings → Bluetooth & devices → Printers & scanners, click your Toshiba printer, then click "Printing preferences"
15
Go to the "Others" tab (or "Job Type" tab depending on your driver version)
16
Find "Department Code", check the box, and enter your code. Ask the Momentum team if you don't have one.
17
Click Apply, then OK. This saves it as the default for all applications — you won't need to enter it again.